Part 2: Setting up the monorepo


There are several tools for creating and managing monorepos, so I will use my tool of choice here and the ways to use them may differ. I personally discovered creation and management of monorepos using npm but for this series I will use the yarn package manager which is my default package manager for every personal project I start.
Tools for creating monorepos
The most known options are:
The later is the most complete but as said, this series will use yarn workspaces.
Setting up the project
The first thing to do is obviously to create a basic project with Yarn.
Create a folder, cd into it and run yarn init . -yp.
This should create a single package.json file in the folder with the following content:
{
  "name": "hashnode-monorepo-series",
  "version": "1.0.0",
  "main": "index.js",
  "license": "MIT",
  "private": true
}
You can remove the "version", "main" and "license" fields since this file will only serve as an anchor for referencing our future workspaces.
Right now, there isn't much to do so we will simply initialize the other two projects: the components library and the example application.
We will create a Svelte Typescript application as the @example/app workspace and a Svelte Typescript components library as the @example/components workspace.
Creating the @example/library project
mkdir -p @example/components
cd ./@example/components
yarn init . -yp
Now, the "name" field will not be right so you will need to edit it so that the @example/components/package.json file contains the following:
{
  "name": "@example/components",
  "version": "0.0.1",
  "description": "A simple components library for our example monorepo",
  "private": true
}
Note: don't forget to
cd ../..to get back to the base directory before executing the next commands.
Creating the @example/app project
Since we will use Vite, this will be really quick.
yarn create vite @example/app --template svelte-ts
Registering the projects as yarn workspaces
Yarn exposes a very simple way to register a project as a workspace. To do so we just have to populate a "workspaces" field in the main package.json file.
Update your main package.json as follow:
{
  "name": "hashnode-monorepo-series",
  "private": true,
  "workspaces": [
    "@example/components",
    "@example/app"
  ]
}
Now you can install the dependencies for all your projects at once with the simple yarn command when you execute it from the main directory.
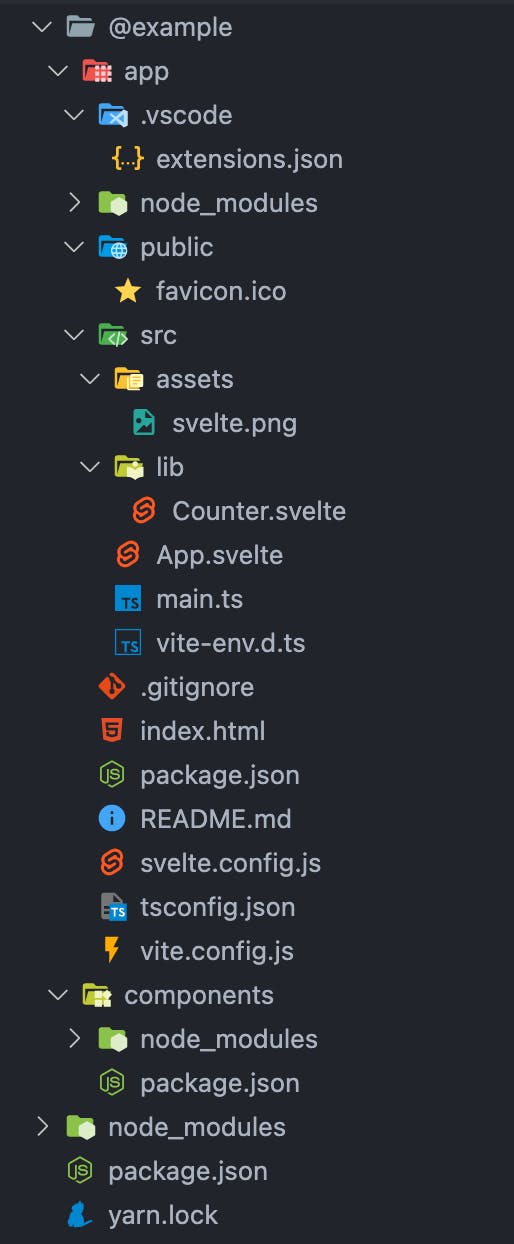
Now, everything should be setup and you should have the following directory structure:
In the next article we will create the components library and setup the Rollup bundler.